


| |
||||||
| |
|
|
|
|
|
|
 |
WHAT CAMERAS? It doesn’t matter what camera you use to photograph Orbs, any make will do. All digital cameras are now pretty good, even the lower priced ones. But we’d recommend that you don’t use anything below 2 million pixels. The digital cameras used mainly on this website and in our book, Beyond Photography, are: OLYMPUS C-200 and PENTAX OPTIO 30 Other shots: the SONY CYBERSHOT DSCF 717 and the CANON IXUS 400. SLR shots were taken with the PENTAX MV1. Q:
Do I need an expensive camera with 20x digital zoom
facility?
|
|
PICTURE QUALITY: |
| You
can use Photoshop to see exactly what is on your digital image and make
it clearer. |
 |
 |
 |
 |
| 1.
Original image. |
2.
Lightened. |
3.
Unsharp mask. |
4.Optimised
for print. |
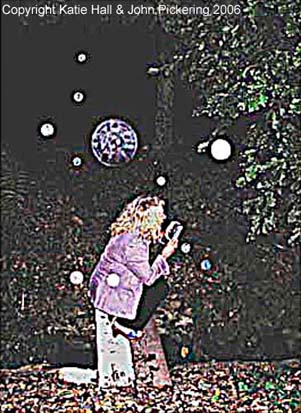
Q:
What is the best way to optimise the quality of the luminosity or light-form
image? A: The best way is to first save the original image, untouched. Then make a copy and use Adobe Photoshop to lighten and/or enhance. If our own images merited it we’d sometimes do three or four comparative versions of the same image: lightening and enhancing; using Photoshop’s image adjust and unsharp mask tools. But be careful; lightening an image too much can result in obliterating detail. After initial mistakes we learned to strike a balance between best visibility of the Luminosities and the over all reproduction quality of the image. |
|
WHAT IS AN ORB AND WHAT IS NOT. Q:
How can I be sure that what I’m photographing are genuine
luminosities, not natural phenomena; such as rain, dust, pollen or insects,
reflected back by the camera flash? |
 |
 |
 |
 |
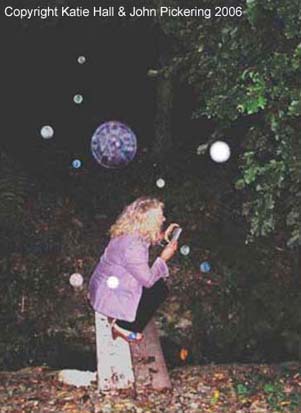
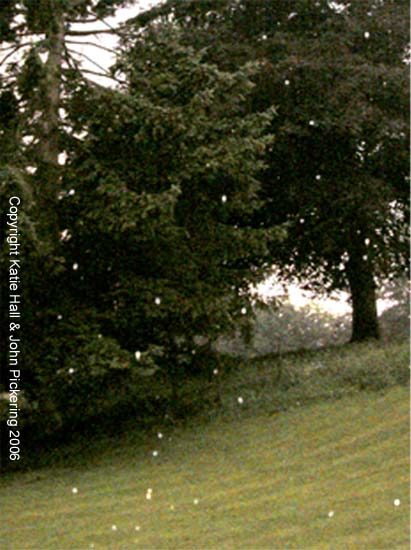
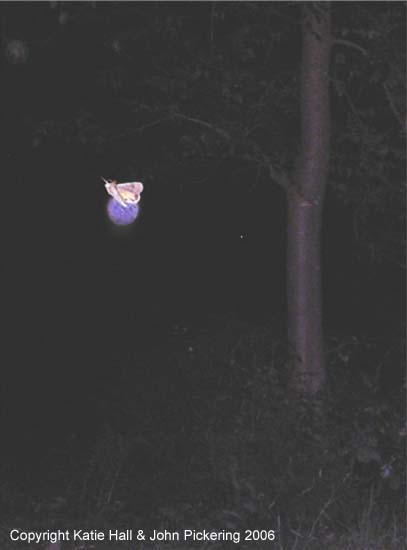
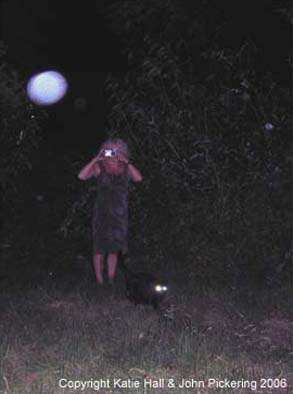
| Rain and moisture are a common explanation, but as you can see the flash reflections here look nothing like Orbs. | Flying insects are another offering, but as this flash photograph we took of a moth, also shows an Orb, this seems highly unlikely. | And as you can see here, cats eyes give a totally different effect from the Luminosity photographed at the same time. | Digital artifacts are cited as another explanation, but here, as on many shots, the Orb is behind elements in the photo. |
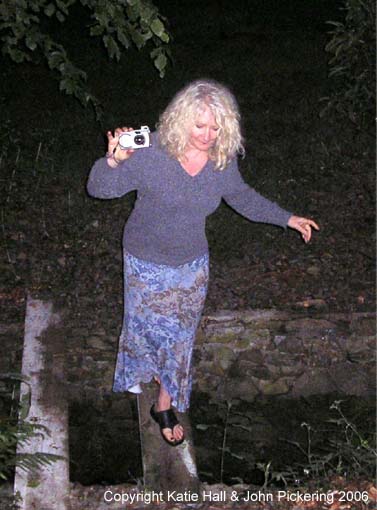
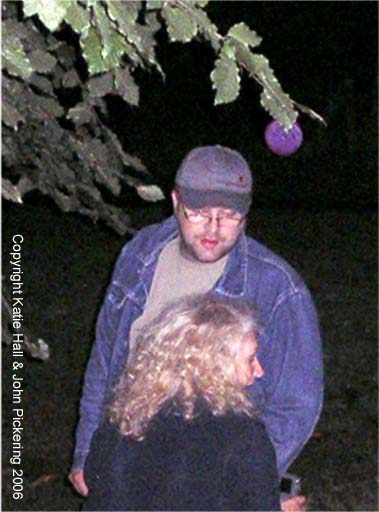
| WHERE TO PHOTOGRAPH
LUMINOSITIES. If you have an interested
friend, go there together, but don’t be too anxious, enjoy the
experience of just being there. Think positive thoughts. Luminosities
are attracted to positive emotions. Frequently take shots in your chosen
place; be patient, Luminosities will respond to your visits; often confirming
their presence by Orb photo-interactivity. We find the best time, is
dusk, when it is just dark enough to see the lights. |
|
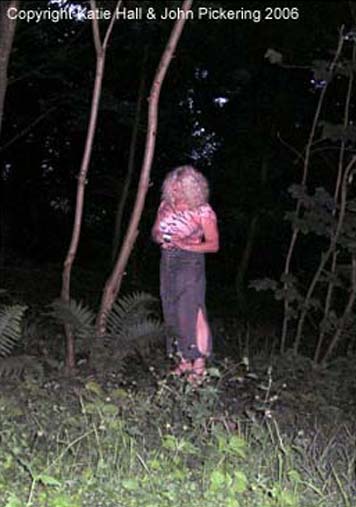
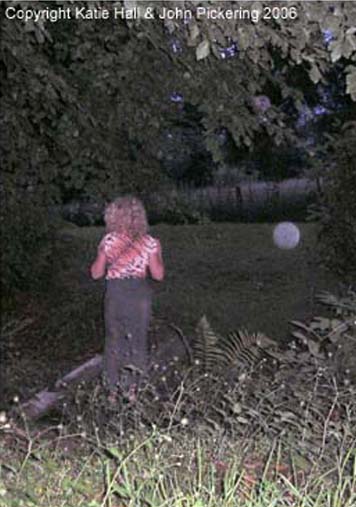
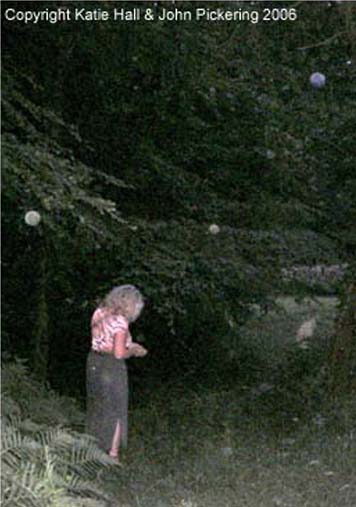
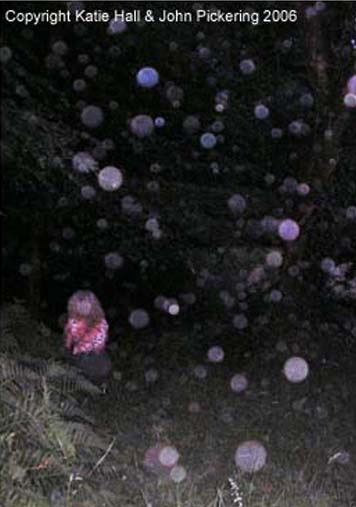
But
sometimes even experienced "Orb Hunters" can be looking in totally
the wrong direction! |
 |
 |
 |
 |
|
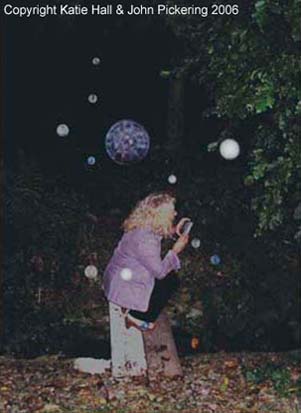
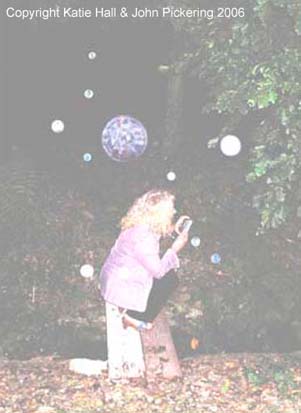
Q:
But how can I be sure that I’ll be able to photograph luminosities
at all? A: You can’t, but once you’ve got one, you’ll get more. However, there is a way to increase your odds. If you or someone you know, sees Small Transient Lights (STLs) then you can use occurrences of that as a guide to the most likely direction in which to point your camera. Whether indoors or outside, in daylight or at night, the chances are that if you see STLs, then Luminosities are not far away; and if you’re patient enough, sooner or later you are sure to photograph something that is, in one sense, beyond photography! For more information on this subject see chapters 5 & 7 in: BEYOND PHOTOGRAPHY. To top |